
With automatic blog publishing, you can automatically publish social posts when new blog articles are published. These social posts are published 15 minutes after your new blog post is published.

🌱 Blog auto-publish limitations
- Blog auto-publishing can only be turned on for shared social accounts.
- Once turned on, blog auto-publishing cannot be turned off if a social account is no longer set to shared.
- Unpublishing and republishing a blog post will not re-publish social posts to your social accounts.
- Due to Instagram limitations, blog auto-publishing is not available for Instagram accounts.
- Due to Facebook's content policies, social sharing features, including blog auto-publish, cannot be turned on for personal Facebook accounts.
- You can only turn on blog auto-publishing for one Twitter account per blog. For example, if you have two Twitter accounts connected in your HubSpot account, you cannot set them both up to auto-publish for the same blog.
- To turn on blog auto-publish for a Twitter account, you need to select Report on posts published from all sources when connecting the account to HubSpot.
🌱 Set up blog auto-publishing
- In your HubSpot account, click the settings settings icon in the main navigation bar.
- In the left sidebar menu, navigate to Marketing > Social.
- In the accounts table, click Choose blog in the Blog auto-publish column next to your social account.
- In the pop-up box, click the Auto-publish new content for dropdown menu and select one or more blog(s).
- Click Submit.

🌱 Preview and customize your auto-publish social posts
After you've set up blog auto-publishing, you can preview and customize the social posts that will be published to your social accounts for each individual blog post.
Please note: only users who are Super Admins or have All accounts social publishing permissions can edit blog auto-publish posts in the content editor.
- In your HubSpot account, navigate to Marketing > Website > Blog.
- Hover over a blog post and click Edit
- In the content editor, click the dropdown menu to the right of the Publish button and select Publishing options.
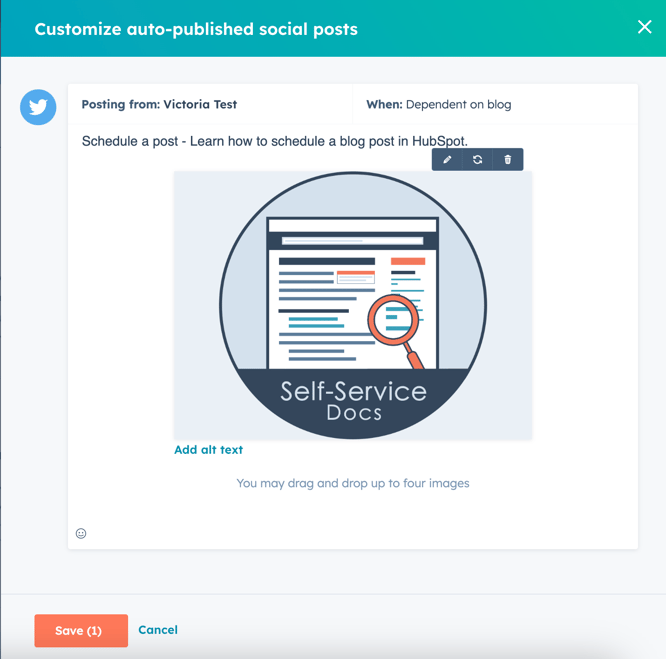
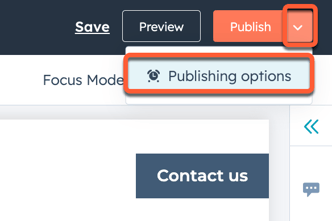 In the dialog box, click Preview in the Social auto-publishing section.
 - In the right panel, make any edits to the content of the social posts, including changing the shared image, then click Save.
- To publish your post immediately, click Publish in the top right, then click Publish in the dialog box.
- To schedule your post for later publication:
- Click the dropdown menu to the right of the Publish button and select Publishing options.
- In the dialog box, use the provided fields to select a date and time when your page will be published, then click Next.
- Click Schedule blog post.